Overview
Single-Sign On (SSO) can be enabled with Netskope One DSPM. With SSO, employees don’t need to remember multiple passwords, and security teams have centralized control over which employees have access to which resources. Netskope One DSPM can currently be integrated with any commercial identity provider (IdP) that supports SAML 2.0, including but not limited to Okta and Microsoft Entra ID.
SSO via SAML involves the following flow, where:
- The Service Provider is the Netskope One DSPM application
- Your SSO Vendor is your IdP
- The End User Browser is an employee using SSO to sign into Netskope One DSPM
To configure SSO to work between Netskope One DSPM and your SSO provider, you will need to perform the following steps:
- Identify the Netskope One DSPM SSO callback URL
- Create a Netskope One DSPM-specific application within your IdP
- Configure SSO settings within Netskope One DSPM
- Configure Netskope One DSPM-specific Platform Users with Platform Roles
Administrator access to the identity provider's console is required, as is RBAC permission to manage SSO permissions within the Netskope One DSPM application.
Please note that you can also configure SSO User Management via Identity Provider.
Identify Netskope One DSPM SSO Values
- Log into the Netskope One DSPM platform.
- Navigate to the Platform Settings > SSO screen.
- Copy the following value for later use within your identity provider (IdP):
- Single Sign-On URL
- Entity ID
Create Netskope One DSPM-Specific SSO Application
The specific steps to follow depend on which identity provider (IdP) you are using. Click the tab below which corresponds to the IdP in question:
Okta
- Log into your Okta administrator console.
- Navigate to the Applications > Applications screen.
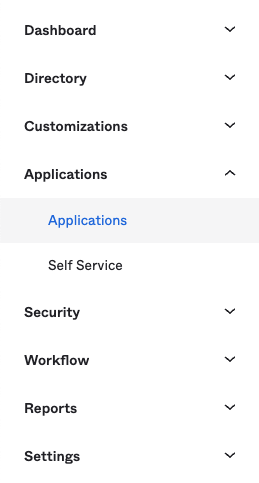
- The Applications screen is displayed.
- Click the Create App Integration button.
- The Create a new app integration modal is displayed.
- Complete the following field:
| Field | Value |
|---|---|
| Sign-in method | SAML 2.0 |
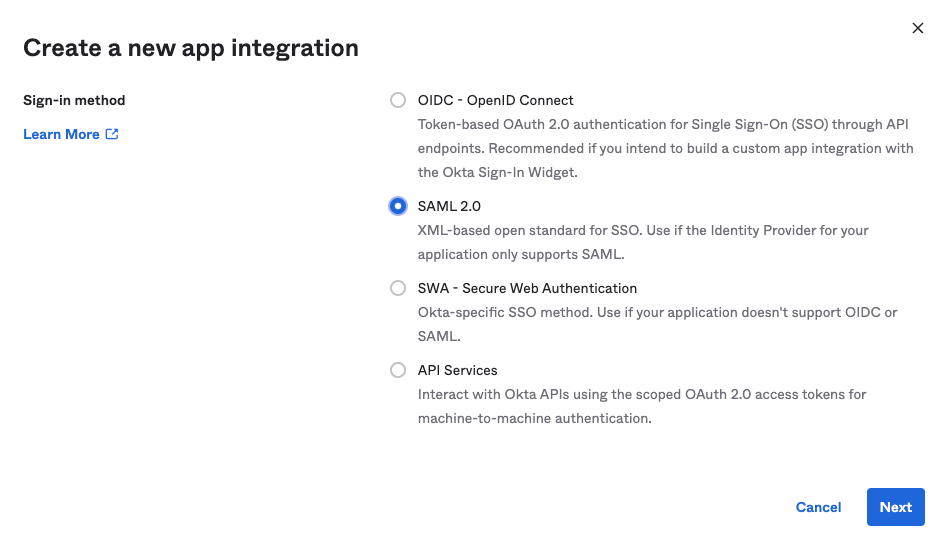
- Click the Next button.
- The General Settings tab is displayed.
- Complete the following fields:
| Field | Value |
|---|---|
| App name | Any value; it is recommended to include "Netskope One DSPM" in the name, to make it easier to identify |
| App logo (optional) | The Netskope One DSPM logo (right-click on the following image to save it to your local folder) 
|
| App visibility | Any value |
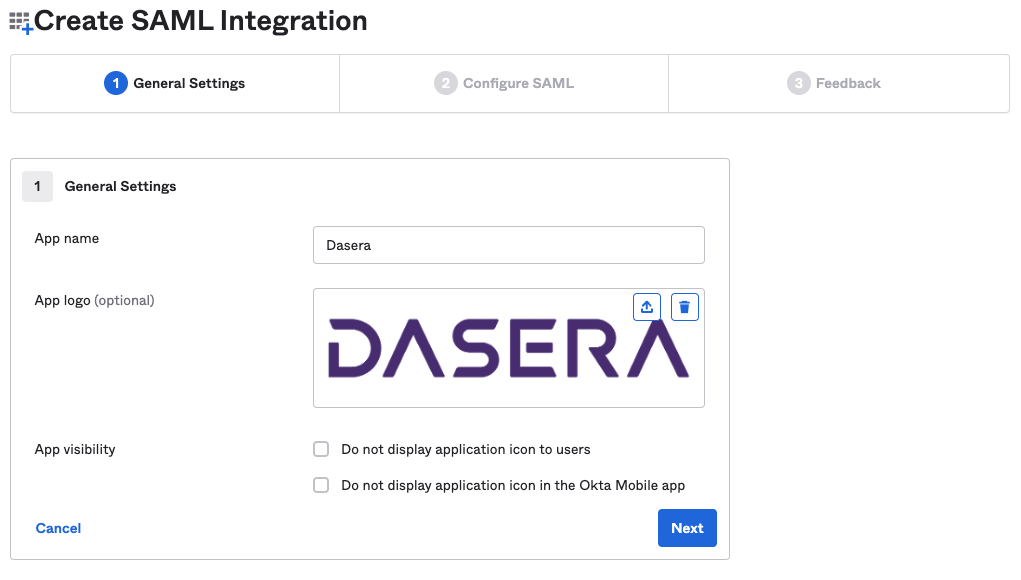
- Click the Next button.
- The Configure SAML tab is displayed.
- In the General section, complete the following fields:
| Field | Value |
|---|---|
| Single sign on URL |
Enter the Single Sign-On URL value from the Identify Netskope One DSPM SSO Values step above. |
| Audience URI | Enter the Entity ID value from the Identify Netskope One DSPM SSO Values step above. |
- In the Attribute Statements section, add two records and complete the following fields:
| Record # | Field | Value |
|---|---|---|
| 1 | Name | first_name |
| Name format | Basic | |
| Value | user.firstName | |
| 2 | Name | last_name |
| Name format | Basic | |
| Value | user.lastName |
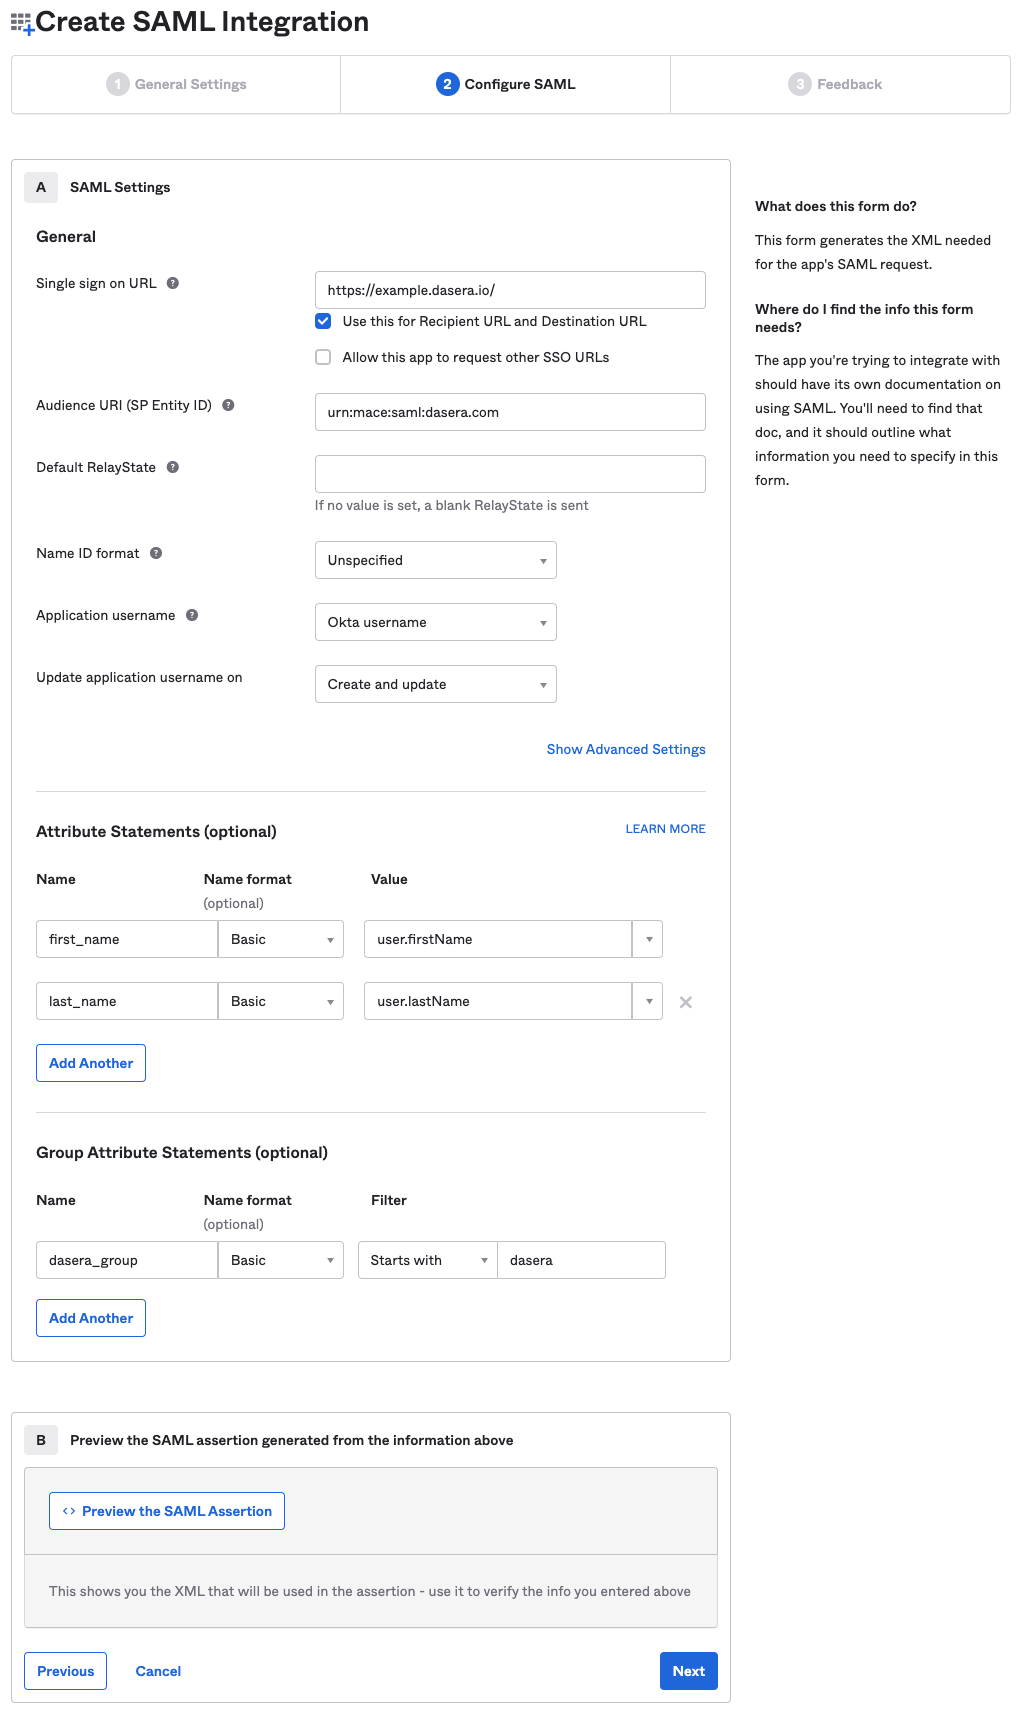
- Click the Next button.
- The Feedback tab is displayed.
- Complete the following fields:
| Field | Value |
|---|---|
| Are you a customer or partner? |
I'm an Okta customer adding an internal app |
| App type |
This is an internal app that we have created |

- Click the Finish button.
- Your new application’s summary is displayed.
- In the yellow box, click the View Setup Instructions button.
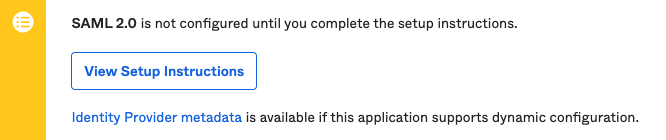
- The How to Configure SAML 2.0 for Netskope One DSPM Application screen is displayed.
- Copy the following values for later use within Netskope One DSPM:
- Identity Provider Single Sign-On URL
- Identity Provider Issuer
- X.509 Certificate
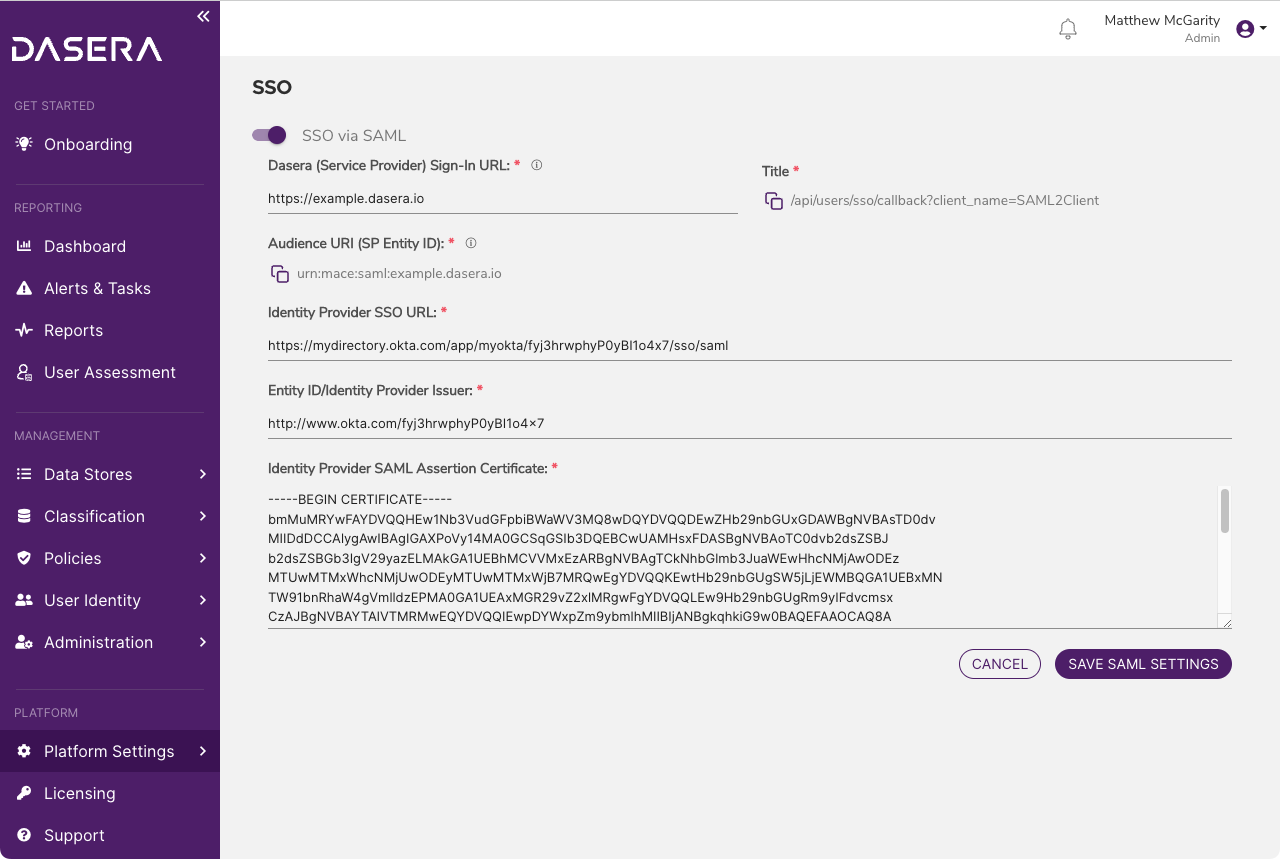
Configure SSO Settings Within Netskope One DSPM
- Log into the Netskope One DSPM platform.
- Navigate to the Platform Settings > SSO screen.
- Click the Edit icon.
- Complete the following fields:
| Field | Value |
|---|---|
| Identity Provider SSO URL | Enter the Identity Provider Single Sign-On URL value from the Create Netskope One DSPM-Specific Okta Application step above. |
| Entity ID/Identity Provider Issuer | Enter the corresponding value from the Create Netskope One DSPM-Specific Okta Application step above. |
| Identity Provider SAML Assertion Certificate | Enter the X.509 Certificate value from the Create Netskope One DSPM-Specific Okta Application step above. |
- You'll see a toggle for Manage Platform Users from IDP. When toggled on, you can manage platform users directly from your Identity Provider.
- Click the SAVE button.
Configure Employees for Netskope One DSPM Access
Repeat the following steps for each employee you wish to grant Netskope One DSPM access.
Assign SSO Application to Employees
- Log into your Okta administrator console.
- Navigate to the Directory > People screen.
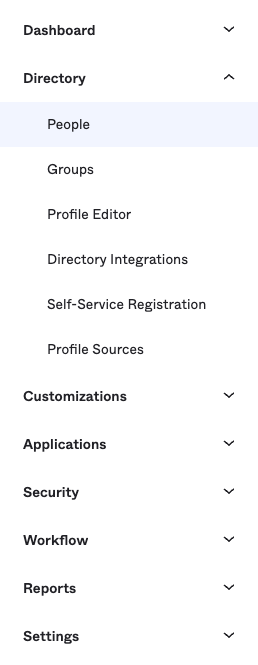
- The People screen is displayed.
- In the list, identify the employee you wish to grant Netskope One DSPM access, then click their Username hyperlink.
- The employee detail screen is displayed.
- Click on the Applications tab.
- The Applications tab is displayed.
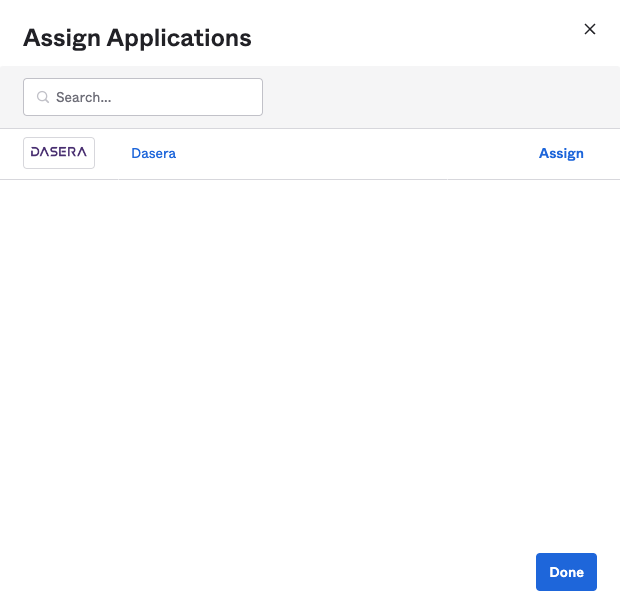
- Click the Assign Applications button.
- The Assign Applications modal is displayed.
- In the list, identify the Netskope One DSPM-specific Okta application you setup above, then click its Assign button.
- The User Name modal is displayed.
- Confirm or correct the User Name value.
- Click the Save and Go Back button.
- The Assign Applications modal is once again displayed. The Netskope One DSPM-specific Okta application should now display as “Assigned
- Click the Done button.
- The Applications tab is displayed once again.
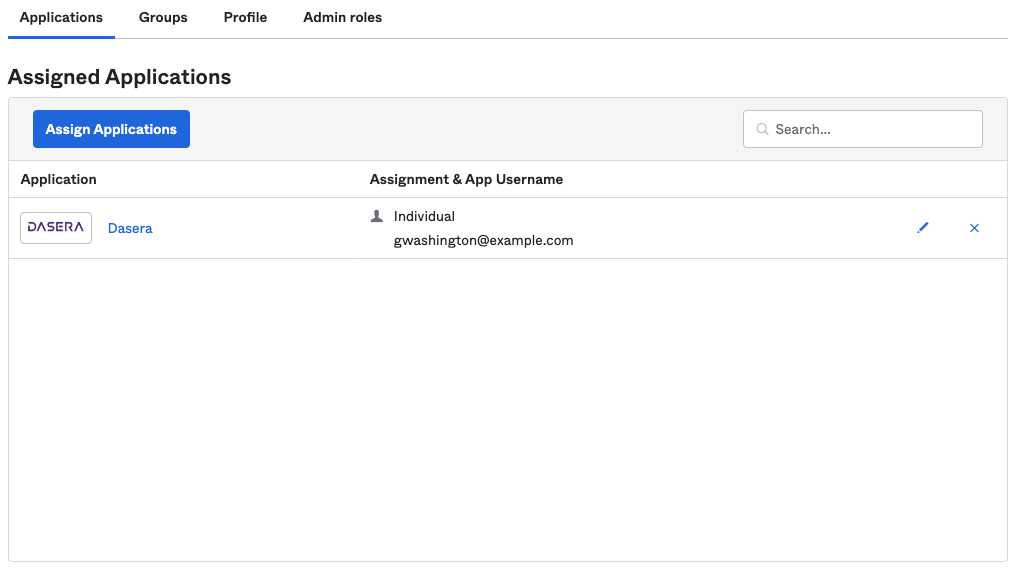
Configure Platform Users and Roles Within Netskope One DSPM
For any SSO User to access Netskope One DSPM they should have both:
- A Platform User record whose Email Address values matches the like-named Okta field
- At least one Platform Role assigned to the above Platform User
To learn more about these activities, please visit our Platform Users and Platform Roles artciles.
Microsoft Entra ID (Entra ID)
- Log into your Azure Portal.
- Under the Azure services section, select Enterprise applications.

- The Enterprise applications screen is displayed.
- Click the New application button.
- The Browse Entra ID Gallery screen is displayed.
- In the Search Application field, type “Entra ID SAML Toolkit”, then select that specific result
- The app creation panel is displayed.
- Complete the following field:
| Field | Value |
|---|---|
| Name | Any value; it is recommended to include "Netskope One DSPM" in the name, to make it easier to identify |

- Click the Create button.
- The app overview screen is displayed.
- In the left-hand menu, under the Manage section, click Single Sign-on.
- On the next screen, select the SAML option.

- The SAML-based Sign-on screen is displayed.
- In the Basic SAML Configuration section, click the Edit button.
- The Basic SAML Configuration panel is displayed.
- Complete the following fields:
| Field | Value |
|---|---|
| Identifier (Entity ID) | Enter the Entity ID value from the Identify Netskope One DSPM SSO Values step above. |
| Sign on URL | Enter the Single Sign-On URL value from the Identify Netskope One DSPM SSO Values step above. |
| Reply URL (Assertion Consumer Service URL) | Same value as the Sign on URL field. |

- Click the Save button.
- In the Attributes & Claims section, click the Edit button.
- The Attributes & Claims screen is displayed.
- In the Additional claims section, add two records and complete the following fields:
| Record # | Field | Value |
|---|---|---|
| 1 | Name | first_name |
| Namespace | (leave blank) | |
| Source | Attribute | |
| Source Attribute | user.surname | |
| 2 | Name | last_name |
| Namespace | (leave blank) | |
| Source | Attribute | |
| Source Attribute | user.givenname |

- In the breadcrumbs, click the SAML-based Sign on link to return to the prior screen.
- In the SAML Certificates section, click the Download link next to the Certificate (Base64) label.

- In the Set up Example SAML App section, copy the following values for later use within Netskope One DSPM:
- Login URL
- Entra ID Identifier

Configure SSO Settings Within Netskope One DSPM
- Log into the Netskope One DSPM platform.
- Navigate to the Platform Settings > SSO screen.
- Click the Edit icon.
- Complete the following fields:
| Field | Value |
|---|---|
| Identity Provider SSO URL | Enter the Login URL value from the Create Netskope One DSPM-Specific SSO Application step above. |
| Entity ID/Identity Provider Issuer | Enter the Entra ID Identifier value from the Create Netskope One DSPM-Specific SSO Application step above. |
| Identity Provider SAML Assertion Certificate | Copy-and-paste text from the certificate you downloaded in the Create Netskope One DSPM-Specific SSO Application step above. |
- You'll see a toggle for Manage Platform Users from IDP. When toggled on, you can manage platform users directly from your Identity Provider.
- Click the SAVE button.

Congratulations! Your single sign-on setup between Netskope One DSPM and your identity provider (IdP) is now complete. Below, learn what your employees should expect when attempting to access Netskope One DSPM.
Netskope One DSPM Behavior When SSO Is Configured
When SSO is configured within Netskope One DSPM, the login screen will have a SIGN IN WITH SSO button.

When your employees click this button, they will be redirected to your identity provider (IdP) login page, as configured in Netskope One DSPM’s SSO screen (see above). Once their credentials have been validated there:
- The employee will be redirected to the Netskope One DSPM Dashboard; and
- Netskope One DSPM will enforce permissions based on Netskope One DSPM-specific Platform Roles assigned to the employee within Netskope One DSPM
If an employee attempts to log into Netskope One DSPM via SSO but they are not yet configured within your IdP to have such permission, Netskope One DSPM will:
- Display an on-screen message that the account is pending.
- An SNS notification will be sent to the Netskope One DSPM administrators to investigate further.